Composting is one of the best ways to manage kitchen waste at home. It turns your everyday food scraps and garden waste into natural fertilizer. This helps reduce garbage, improve your soil, and grow healthy plants.
Whether you live in an apartment or an independent house, composting can be done anywhere. In this guide, we explain how to start composting at home in India—step by step.
What is Composting?
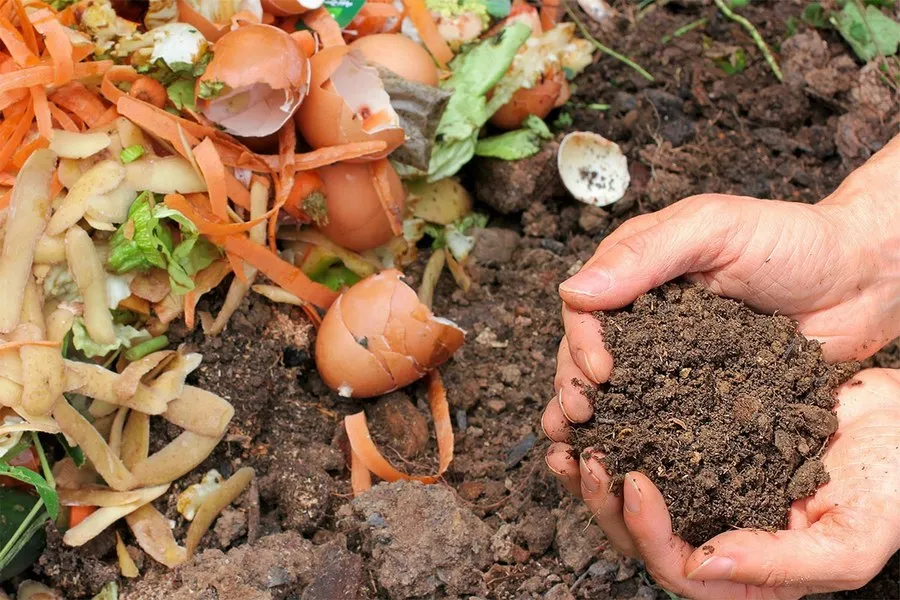
Composting is the natural process of breaking down organic waste (like fruit peels or dry leaves) into rich, dark soil called compost. This compost acts as a plant-based fertilizer that improves the health of soil and plants.
Microbes, air, and moisture help this breakdown process. It usually takes 30 to 60 days, depending on weather and waste type.
Also Read Best Superfoods for Vegans
Why Compost at Home?
- Reduces kitchen waste by up to 60%
- Saves money—no need for chemical fertilizers
- Improves soil health in home gardens
- Supports a sustainable, eco-friendly lifestyle
- Reduces garbage load on municipal systems
In Indian cities, garbage is a major problem. Composting is a small step with a big impact.
What You Can Compost
✅ Green Waste (Wet/Biowaste)
- Vegetable peels
- Fruit scraps
- Used tea leaves
- Coffee grounds
- Cooked rice (small amounts)
- Spoiled fruits and veggies
- Flowers
✅ Brown Waste (Dry/Carbon-rich)
- Dry leaves
- Paper napkins
- Newspaper (shredded)
- Cardboard (without plastic coating)
- Sawdust or wood shavings
- Cocopeat (coconut husk powder)
❌ Do Not Compost
- Dairy, ghee, butter
- Meat, fish, or bones
- Oily or spicy food
- Plastics, metals, glass
- Synthetic chemicals
- Animal waste
These can attract pests or slow down the composting process.
What You Need to Start Composting
You don’t need fancy equipment. Just 3 main things:
1. A Compost Bin or Container
- Use an old bucket, earthen pot (matka), plastic drum, or terracotta compost bin
- Make holes on the sides and bottom for airflow
- Keep it in a corner of your balcony, terrace, or backyard
2. Kitchen Waste
- Collect waste daily in a small bin or container
- Cut peels and scraps into smaller pieces—they break down faster
3. Dry Material (Carbon/Browns)
- Collect dry leaves, shredded paper, or cocopeat
- Store them in a dry bag or basket near your bin
Optional: A compost activator (such as buttermilk, jaggery water, or EM solution) to speed up the process.
Step-by-Step: How to Compost at Home
Step 1: Layering
Start with a layer of dry leaves or newspaper at the bottom of the bin.
Next, add a layer of kitchen waste (greens).
Top it with another layer of dry waste (browns).
Repeat these layers every day.
Step 2: Mix Regularly
Use a stick or garden tool to mix the contents once every 2–3 days.
This adds air and helps microbes break down the waste faster.
Step 3: Maintain Moisture
The mix should feel like a damp sponge—not too dry, not too wet.
If it’s too wet (smelly or slimy), add more browns.
If too dry (no decomposition), sprinkle water.
Step 4: Wait and Monitor
Decomposition starts in 5–10 days.
You may notice heat, white fungi, or slight smell—that’s normal.
After 30–45 days, it becomes dark brown, earthy-smelling compost.
Types of Home Composting Methods (Indian Options)
1. Aerobic Composting (With Air)
- Most common method
- Needs regular mixing
- Suitable for households with a garden or open space
2. Bokashi Composting
- Uses fermented bran to compost including small amounts of cooked food
- No smell
- Requires a sealed bin and special Bokashi powder
- Final material needs to be buried or further composted
3. Vermicomposting (With Worms)
- Uses red earthworms (Eisenia fetida)
- Produces high-quality compost called worm castings
- Needs shade and regular care
- Popular in rural homes or larger spaces
Tips for Successful Composting
- Cut waste small—smaller pieces compost faster
- Cover every layer of wet waste with dry waste
- Avoid smell—balance greens and browns, mix often
- Protect from rain—keep bin covered during monsoons
- Store compost—after 45–60 days, sieve and use in pots or store for future
Using Your Compost
You can use your homemade compost:
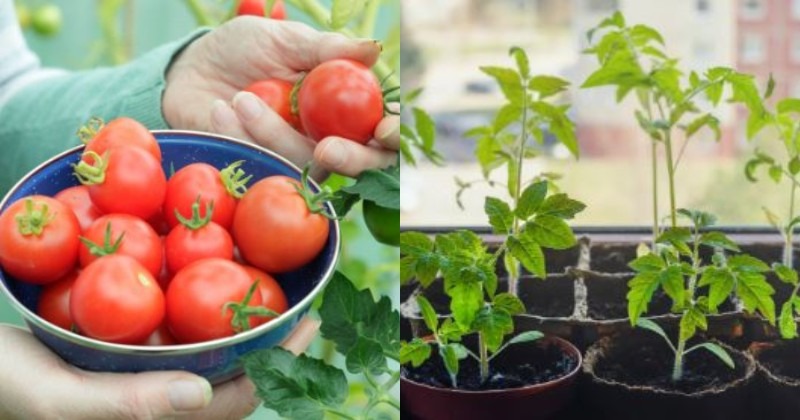
- In garden pots or grow bags
- As a top layer for balcony plants
- Mixed into soil while planting
- In flowering plants, herbs, or vegetable gardens
It helps retain moisture, prevents diseases, and improves plant health.
Common Problems and Fixes
| Problem | Possible Cause | Solution |
|---|---|---|
| Smelly compost | Too much wet waste, no browns | Add dry leaves, mix well |
| Compost too dry | Not enough greens or water | Add more kitchen waste, sprinkle water |
| Flies or insects | Exposed wet waste | Cover with dry waste completely |
| White fungus | Normal part of composting | Let it be |
FAQs: Composting in India
Q1. Can I compost on my apartment balcony?
Yes. Use a covered bin or composting kit. Keep it in a shaded corner.
Q2. What if I don’t have dry leaves?
Use newspaper, cardboard, sawdust, or cocopeat. Always shred before use.
Q3. Can I add cooked food to compost?
Avoid oily, spicy, or meat-based food. A small quantity of plain rice or roti is okay.
Q4. How do I know when compost is ready?
It turns dark, crumbly, and smells like fresh soil. No visible food scraps remain.
Q5. Do I need to buy anything special?
Not really. Old buckets, kitchen waste, and dry leaves are enough to begin.
Final Thoughts
Composting at home is easy, affordable, and good for the planet. In Indian households, where food waste is high, this small step can make a big difference.
You save money, reduce landfill waste, and make your own fertilizer for your garden. Start today with one container and your daily kitchen waste. You’ll be surprised how much good it does.
Author- Ayush