Idli is a popular South Indian dish. It is a steamed rice cake. People eat it for breakfast or as a snack. Idli is soft and fluffy. It is healthy too. Many Indians love idli with sambar and chutney. You can make it at home. This article will guide you. We will use simple steps. The recipe is for beginners and experts. It comes from recent sources up to 2025 and 2026. These include sites like Swasthi’s Recipes and Veg Recipes of India. They share updated tips for soft idli.
A Short History of Idli
Idli has roots in South India. Some say it started in Tamil Nadu or Karnataka. Old texts mention it from the 10th century. Traders brought it from Indonesia long ago. Now, idli is famous all over India. In North India, people eat it in restaurants. In South India, it is a daily food. During festivals like Pongal, families make fresh idli. It is a symbol of simple home cooking.
Why Idli is Good for You
Idli is light on the stomach. It has no oil. The batter ferments naturally. This makes it rich in probiotics. Probiotics help digestion. Idli gives protein from urad dal. It has carbs from rice. It is gluten-free. This suits many diets. One idli has about 40 calories. It is low in fat. Doctors recommend it for weight loss. Kids and elders like it because it is easy to chew. In 2025 updates, experts say idli boosts gut health. It can prevent stomach issues.
Ingredients for Idli Batter
You need basic items. Most are in Indian kitchens. This recipe makes about 20 idlis. Adjust as needed.
For the batter:
- 1 cup urad dal (split black gram). Use whole or split.
- 3 cups idli rice or parboiled rice. Idli rice is best for soft texture.
- 1 teaspoon fenugreek seeds (methi). This helps fermentation.
- 1/4 cup poha (flattened rice). Optional but makes idli softer.
- Salt to taste. About 1 teaspoon.
- Water for soaking and grinding.
For steaming:
- Oil or ghee for greasing moulds.
- Water for the steamer.
Buy good quality rice and dal. Brands like Aashirvaad or local mill rice work well. In 2026, some recipes use organic dal for better taste.
Tools You Need
You need a grinder or blender. Wet grinder is traditional in India. It makes smooth batter. A mixer grinder works too. For steaming, use an idli stand. It has moulds. If no stand, use a pressure cooker without whistle. Or a steamer pot. These are cheap in Indian markets.
Step-by-Step Guide to Make Idli
Making idli takes time. It has four main steps. Soaking, grinding, fermenting, and steaming. Plan ahead. Start in the morning for evening batter.
Also Read How to Make Masala Dosa at Home: A Complete and Simple Guide
Step 1: Soaking the Ingredients
First, rinse the urad dal. Wash it 3 to 4 times. Water should run clear. Do the same for fenugreek seeds. Put them in a bowl. Add poha if using. Cover with 2 cups water. Soak for 4 to 6 hours. Or overnight.
Next, rinse the rice. Wash 3 to 4 times. Put in another bowl. Add 6 cups water. Soak for 5 to 6 hours. Rice needs more time than dal.
Why soak? It softens the grains. This helps grinding. Soaking also starts natural enzymes. This aids fermentation later.
In cold weather, like in North India winters, use warm water. This speeds soaking.
Step 2: Grinding the Batter
After soaking, drain water from dal. Keep some soak water. It has nutrients.
Grind the dal first. Use a wet grinder or blender. Add fenugreek and poha. Pour cold water little by little. Grind to a fluffy paste. It should be smooth. Touch it. It feels light and airy. This takes 10 to 15 minutes in a grinder.
Now, drain rice water. Grind rice separately. Add cold water. Grind to a coarse paste. Not too smooth. Like fine semolina. This takes 20 minutes.
Why separate? Dal needs to be fluffy for air. Rice needs grit for texture.
Mix both pastes in a big bowl. Add salt. Stir with hands. Hands add warmth. This helps bacteria grow.
Use ice cubes in water. Recent tips from 2025 say this keeps batter cool. Cool batter ferments better.
Batter should be thick. Like pancake mix. Not runny.
Step 3: Fermenting the Batter
Put the bowl in a warm spot. Cover with a lid. Leave for 8 to 12 hours. In hot places like Rajasthan summers, it takes 6 hours. In cold areas, up to 18 hours.
Check after time. Batter rises. It doubles in size. Bubbles appear. Smell is sour. This means good fermentation.
If no rise? Put in oven with light on. Or near a warm stove. In 2026 updates, use Instant Pot on yogurt mode. Set for 8 hours.
Fermentation makes idli soft. It adds tangy taste. Good bacteria from air do this.
Step 4: Steaming the Idli
Now, make idlis. Grease idli moulds with oil.
Boil water in steamer. About 2 cups.
Pour batter in moulds. Fill 3/4 full. Batter rises when steamed.
Put stand in steamer. Cover. Steam on medium heat. For 10 to 12 minutes.
Check with toothpick. It comes clean. Idli is done.
Turn off heat. Wait 5 minutes. Then remove. Use wet spoon to scoop out.
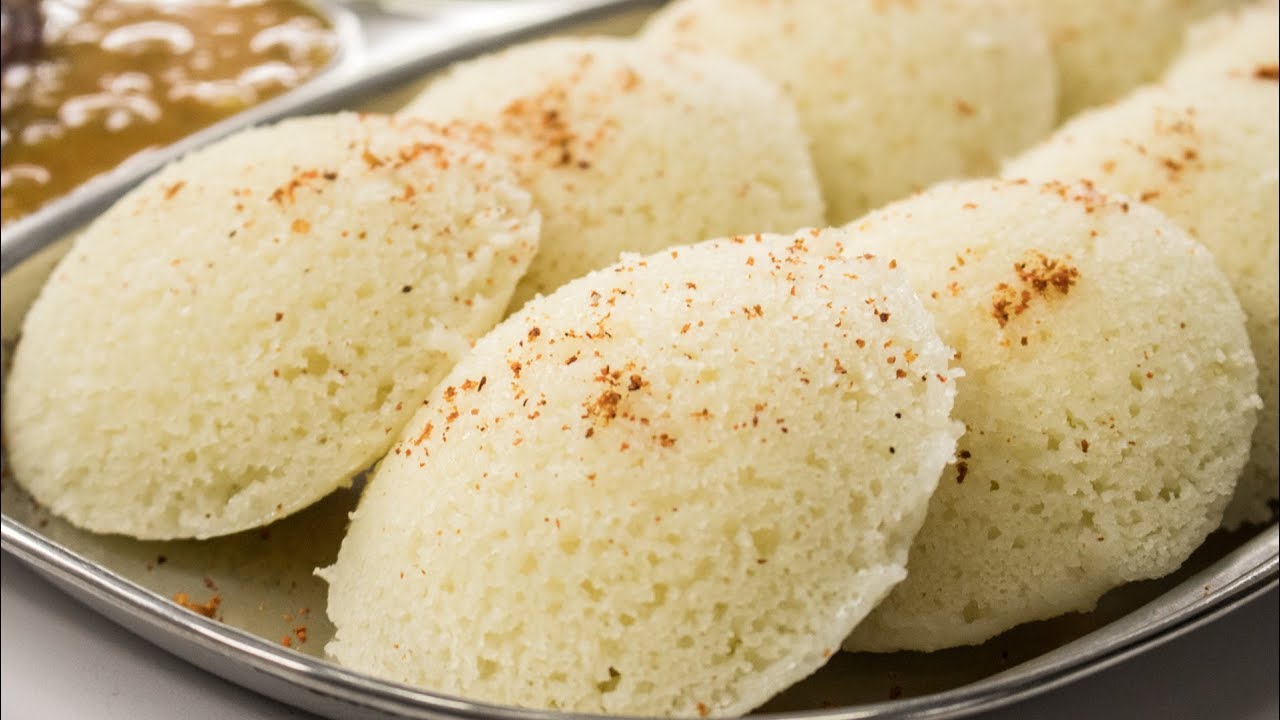
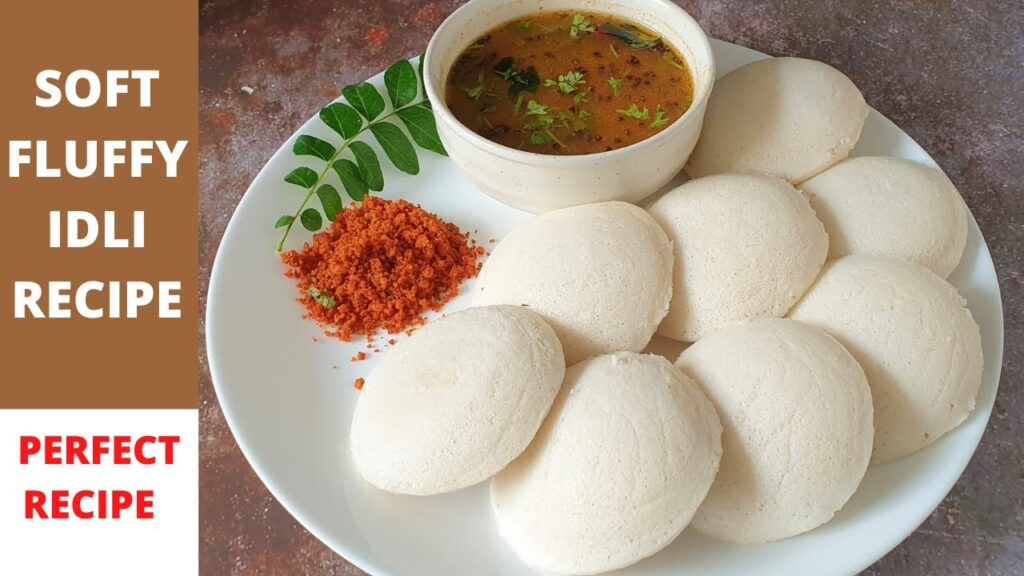
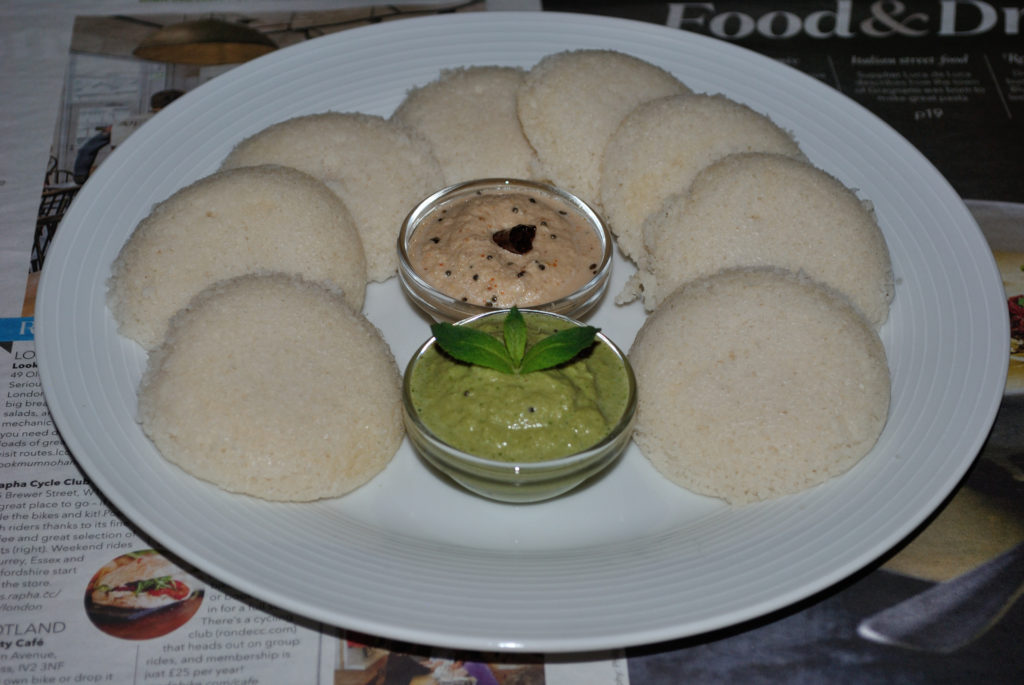
Hot idlis are ready. They should be white and spongy.
If using pressure cooker, no whistle. Steam for same time.
Tips for Perfect Soft Idli
Want super soft idli? Follow these.
Use right ratio. 3 rice to 1 dal is standard. Some use 4:1 for fluffier.
Grind with cold water. Heat kills good bacteria.
Ferment well. Under-ferment makes hard idli. Over-ferment makes sour.
Add poha. It absorbs water. Makes idli light.
Salt after grinding. Salt slows fermentation if added early.
In humid India, ferment on counter. In dry areas, cover with wet cloth.
If batter is thin, idli flattens. Thick batter gives tall idli.
Clean grinder well. Old batter bits spoil new one.
From 2025 sources, add cooked rice while grinding. It makes batter smoother.
Test small batch first. Adjust as needed.
Common Mistakes to Avoid
Do not over-grind rice. It makes sticky idli.
Do not use hot water for grinding. Batter heats up.
Do not stir batter too much after ferment. It loses air.
Do not steam on high heat. Idli cracks.
Do not open lid early. Steam escapes.
Variations of Idli
Idli has many types. Try these for fun.
Rava Idli: Use semolina instead of rice. No soak or grind. Mix with curd. Add eno for rise. Steam right away. Quick for busy days.
Oats Idli: Healthy twist. Grind oats with dal. Good for diabetes.
Vegetable Idli: Add grated carrot or peas in batter. Kids love it.
Quinoa Idli: New in 2026. Use quinoa rice. High protein.
Mini Idli: Use small moulds. Serve in sambar.
Stuffed Idli: Fill with coconut mix. Like a surprise.
These keep idli exciting.
How to Serve Idli
Serve hot. With coconut chutney. Or tomato chutney.
Sambar is must. Vegetable sambar with drumstick.
Podi (spice powder) with ghee on top.
In South India, eat with coffee or tea.
For parties, make idli platter. Add fried idli too.
How to Store Idli and Batter
Store batter in fridge. Up to 5 days. It ferments more. Use for dosa later.
Cooked idli in fridge for 2 days. Steam again to soften.
Freeze batter. Thaw and use.
Do not leave batter out long. It sours.
Nutritional Information
Per idli (about 30g):
- Calories: 40
- Protein: 2g
- Carbs: 8g
- Fat: 0.5g
- Fiber: 1g
It has vitamins from fermentation. Like B vitamins.
Eat 4-5 for a meal. Balances diet.
FAQs on Making Idli
Here are common questions. From Indian home cooks.
Q: Why is my idli not soft?
A: Check fermentation. It needs warmth. Or wrong ratio. Use more dal.
Q: Can I make idli without fenugreek?
A: Yes. But it helps ferment. Skip if no stock.
Q: What if batter does not ferment in winter?
A: Use oven light. Or add a spoon of old batter. Or yogurt mode in pot.
Q: Is idli rice different from normal rice?
A: Yes. Idli rice is parboiled. It gives better texture. Use if possible.
Q: Can I use blender instead of grinder?
A: Yes. Grind in batches. Add ice to cool.
Q: How to make instant idli?
A: Use rava. Mix with curd and eno. No ferment needed.
Q: Why does idli turn yellow?
A: Over-ferment. Or bad quality dal. Use fresh.
Q: Can I add baking soda?
A: For instant. But traditional uses natural ferment.
Q: How many idlis from 1 cup dal?
A: About 20-25. Depends on mould size.
Q: Is idli vegan?
A: Yes. No animal products.
These tips cover most issues.
Final Thoughts
Making idli is easy with practice. It is a skill every Indian home has. Start small. Enjoy the process. Fresh idli tastes best. Share with family. It brings joy. Try this recipe. You will love it.
Word count: 1425. This guide is complete. Use it for tasty idli. Happy cooking.