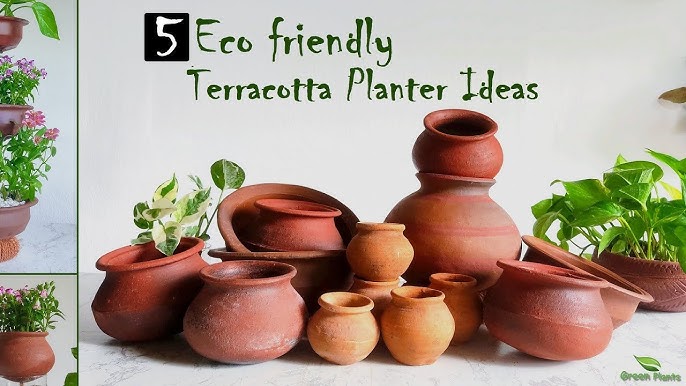
Terracotta planters are natural, affordable, earthy, and beautiful. They match Indian homes very well. They look warm. They are made from baked clay. They allow better airflow for roots. They keep plants cooler in hot weather. These DIY terracotta planters are perfect for balcony gardening, kitchen gardening, backyard gardening, organic plant lovers, and sustainable gardening supporters. Making your own terracotta pots can be fun, creative, mindful, and budget-friendly. In this article we will explore how to make terracotta planters step-by-step, how to finish them, how to seal them, how to choose clay, how to plant in them, and how to care for them in the Indian climate. This is a complete guide for beginners and intermediate level hobby gardeners.
Why terracotta planters are perfect for plant health
Terracotta clay is porous. This means air and water can move through the walls of the pot. So it helps prevent waterlogging. It allows soil to dry at the correct pace. This lowers the risk of root rot. It also helps in summer because the evaporation cools the root zone. This is great for succulents, cacti, herbs, indoor plants, balcony plants, and many Indian climate plants. Also, terracotta is biodegradable and eco-friendly. It supports sustainable lifestyle, low waste gardening, and natural living.
Materials you need to make your own clay pots
You do not need very expensive tools or equipment. You can start small.
- Terracotta pottery clay or natural earthen clay
- Air dry clay if you do not have access to firing
- Rolling pin or bottle
- Sponge, knife, butter paper, small metal spoon
- Old bowls, cups, boxes or any mould
- Wooden board as working surface
- Optional: sealant, beeswax, acrylic pot sealer
- Optional: glaze if you have firing access
- Optional: natural pigments for decoration
For India you can buy clay easily from craft stores, art supply stores, small village potter communities, and local markets.
Three easy beginner friendly ways to make terracotta clay planters
1) Pinch Pot Method
Take a ball of clay. Press your thumb in the center. Slowly pinch and rotate. Shape into bowl form. Smooth with sponge. Add drainage hole. Dry slowly. This method is best for small succulents and herbs.
2) Coil Method
Roll clay into long ropes. Stack them in circular layers to build height. Blend the coils together with fingers. This is good for big planter pots for balcony gardening.
3) Slab Method
Roll a flat slab with rolling pin. Wrap around a mould like a bowl or plastic container. Join the seams with slip (water + clay). Smooth from inside and outside. Make a drainage hole.
Drying and firing your terracotta planters
Dry slowly for few days. Cover lightly with cloth or plastic sheet. Do not dry in direct sun or strong wind because cracking may happen. Once it becomes leather hard, smooth it again. If you have kiln access, firing makes the pot strong, durable, and long lasting. If you do not have kiln access, you can use air dry clay for indoor plants and décor planters.
Traditional Indian pit-firing method is possible, but it needs knowledge, safety, and careful supervision.
How to seal your terracotta planters
Terracotta naturally absorbs water. So some people like to seal the inside surface to reduce fast moisture loss. Use non toxic water based acrylic sealers, natural beeswax coating, or clay safe outdoor sealants. Use two coats. Let it cure completely. If growing herbs, leafy greens or edible plants, choose only food-safe and clean sealers.
Best soil mix for terracotta pots
Soil matters a lot. Terracotta pots dry faster. So use good soil blend.
For most plants:
- 40% garden soil
- 30% compost / cow manure / vermicompost
- 20% cocopeat or coir
- 10% sand or perlite
For succulents: use more sand + extra perlite.
Always add a broken piece of tile, clay shard, or small gravel near the drainage hole.
Climate wise care tips for India
India has very different climate regions. In hot states like Rajasthan and Gujarat, terracotta pots keep the soil cooler. In very humid coastal states like Kerala or Goa, drying time is slow in monsoon, so keep pots under shade. In hill cold areas, avoid freezing condition for raw unglazed pots. Terracotta is perfect for balcony gardening in Indian apartments because it prevents water stagnation.
Decoration options for homemade terracotta pots
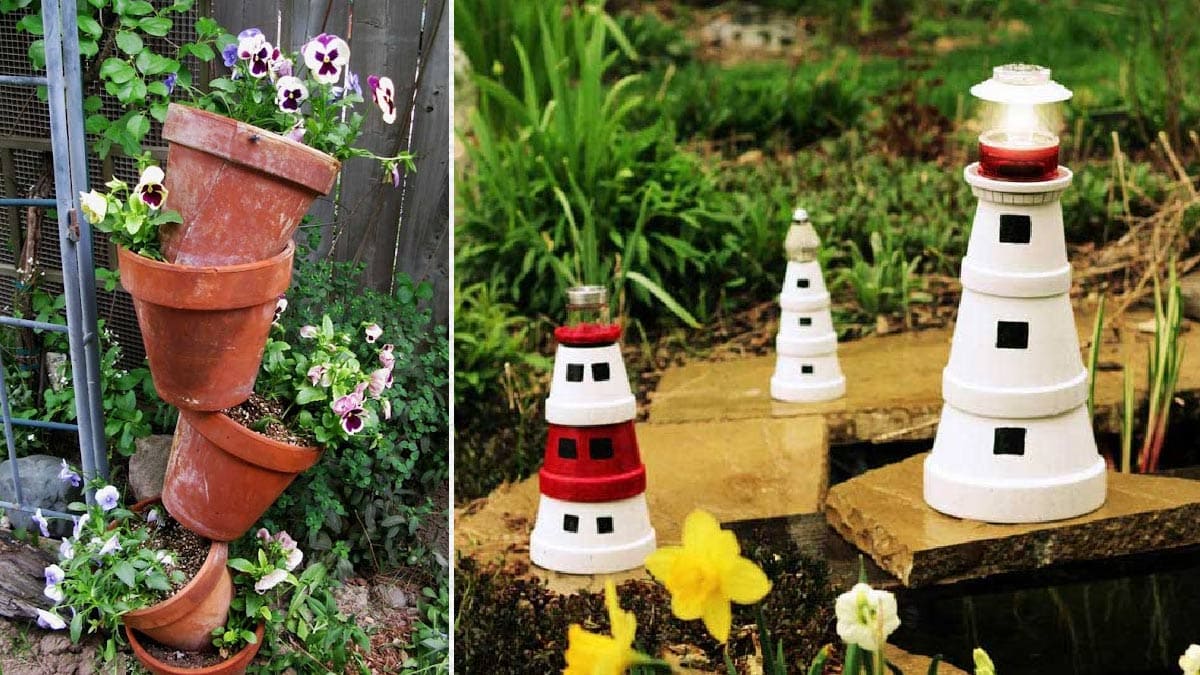
You can carve designs before drying. Use simple motifs like leaves, dots, mandala borders, petal patterns, tribal designs, or geometric shapes. You can paint dried pots with acrylic paint and then seal them. You can also keep them natural terracotta colour for a rustic earthy vibe which looks very beautiful in Indian minimal home décor.
Maintenance and cleaning
Clean the outside occasionally with brush and mild water. Remove mineral salt stains gently with vinegar + water mixture. Do not scrub too harshly. Repot plants every 12–18 months for better aeration and fresh soil nutrition.
Final thoughts
Making your own terracotta planters is an amazing DIY craft for plant parents, garden beginners, eco conscious families, plant-based lifestyle supporters, sustainable living lovers, and balcony gardeners in India. It is budget friendly. It is natural. It lets you connect with clay, earth and creativity. Start with small pots. Learn slowly. Enjoy the process. Plant in containers that you made with your own hands. It feels very satisfying and mindful.
FAQs
Q: Can I make terracotta pots without firing?
Yes. You can use air dry clay. But air dry clay is not as strong as fired clay. Use air dry pots more for light indoor plants.
Q: What plants grow best in terracotta pots?
Succulents, cacti, basil, thyme, rosemary, aloe vera, small flowers, snake plant, money plant, and herbs grow very well.
Q: Will terracotta crack in rain?
If fired well and dried fully, good terracotta is weather resistant. But cheaper clay or air dry clay may chip faster. Seal them well and protect during harsh monsoon.
Q: Is terracotta eco friendly?
Yes. Terracotta is natural clay. It is biodegradable. It supports sustainable gardening.